
This article will be an introduction how to create project based on TypeScript using Vue.js and Vuex . We will start with creating application using VueCLI.
Plan of our Vue / Vue router / Vuex application
We will write simple CRUD application which will be simple :
-
Getting list of posts (loading it to store)
-
Creating post
-
Editing post
-
Removing post
Create a scaffold of Vue application
You will need to install VueCLI firstly. You can do it using NPM:
npm install -g @vue/cli
Or using Yarn:
yarn global add @vue/cli
Creating Vue application using VueCLI
What you do next is create project using VueCLI. To run this command in command line:
vue create <nameOfApp>
In my case it will be ts-vue so Im running
vue create ts-vue

Start defining your application using "Manually select features":
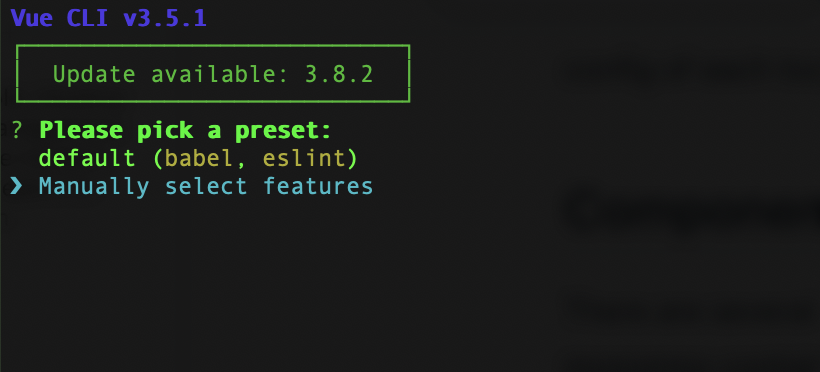
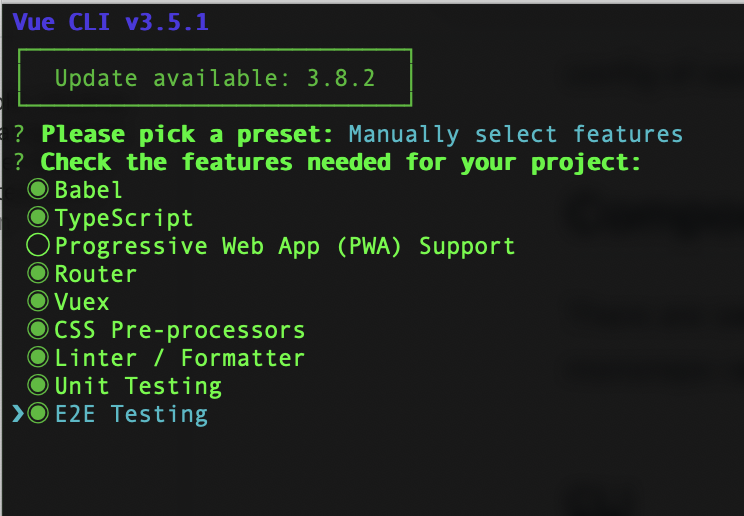
From menu you will need to choose options visible on screen:
-
Babel
-
TypeScript
-
Router
-
Vuex
-
CSS Pre-processors (it will be chosen in next steps)
-
Linter / Formatter (preset will be chosen in next steps)
-
Unit Testing (engine will be chosen in next steps)
-
E2E Testing (engine will be chosen in next steps)
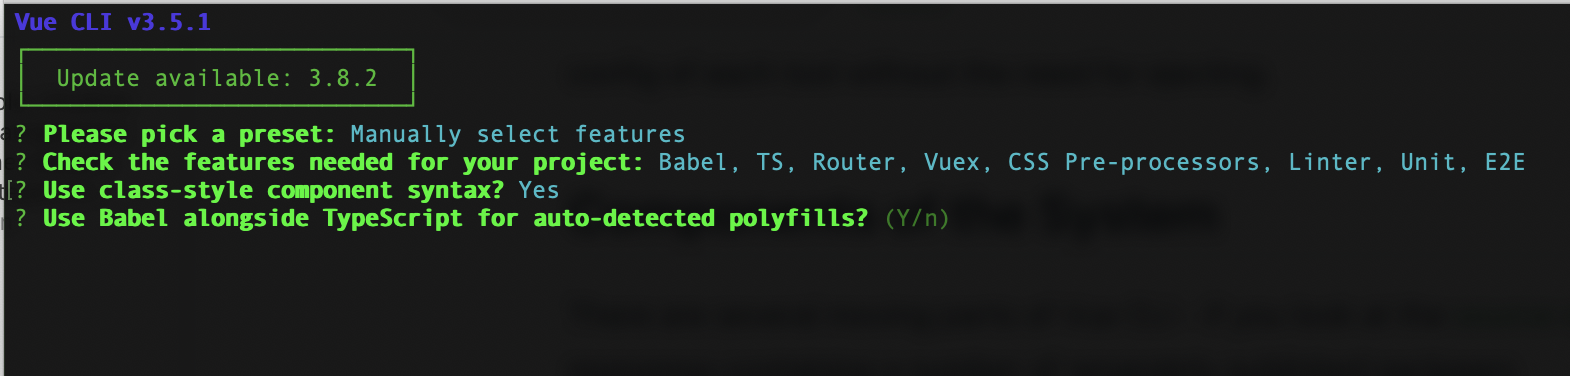
Next you will be asked about class-style components (.vue based files divided into template, script, style sections).
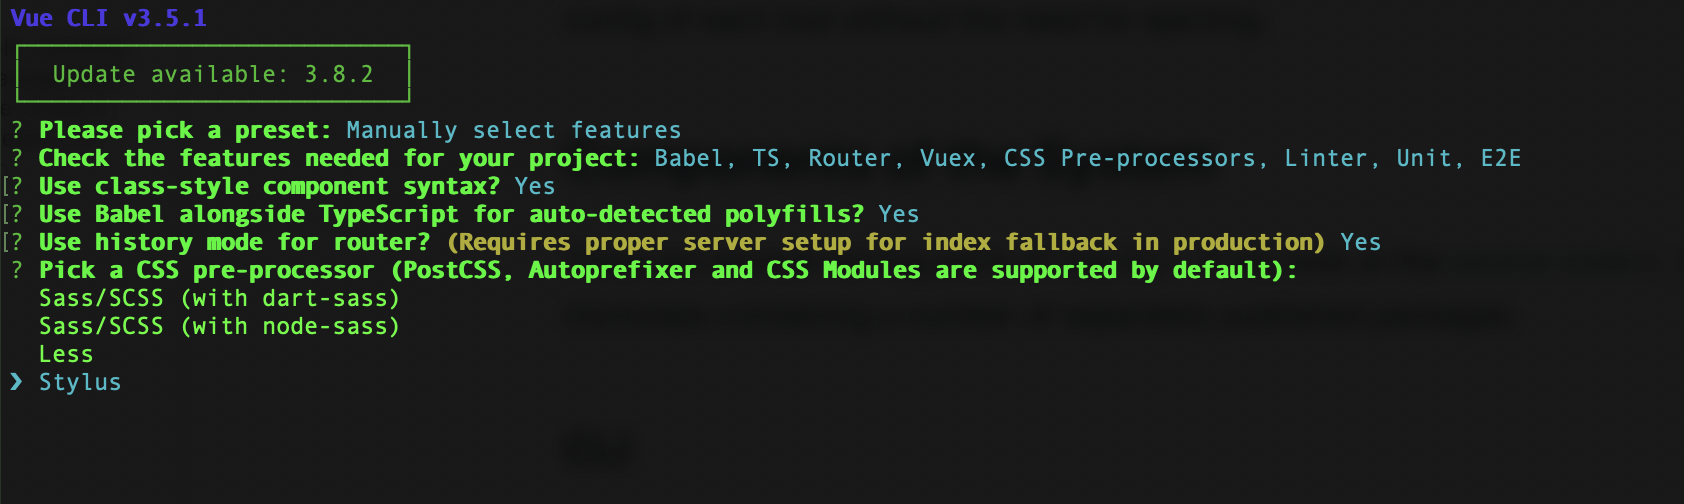
Then choose your favourite pre-processor. I've used Stylus (why? I've made description in my article)
Next you will be asked about linters options. Use both (Lint on save and Lint and fix on commit)
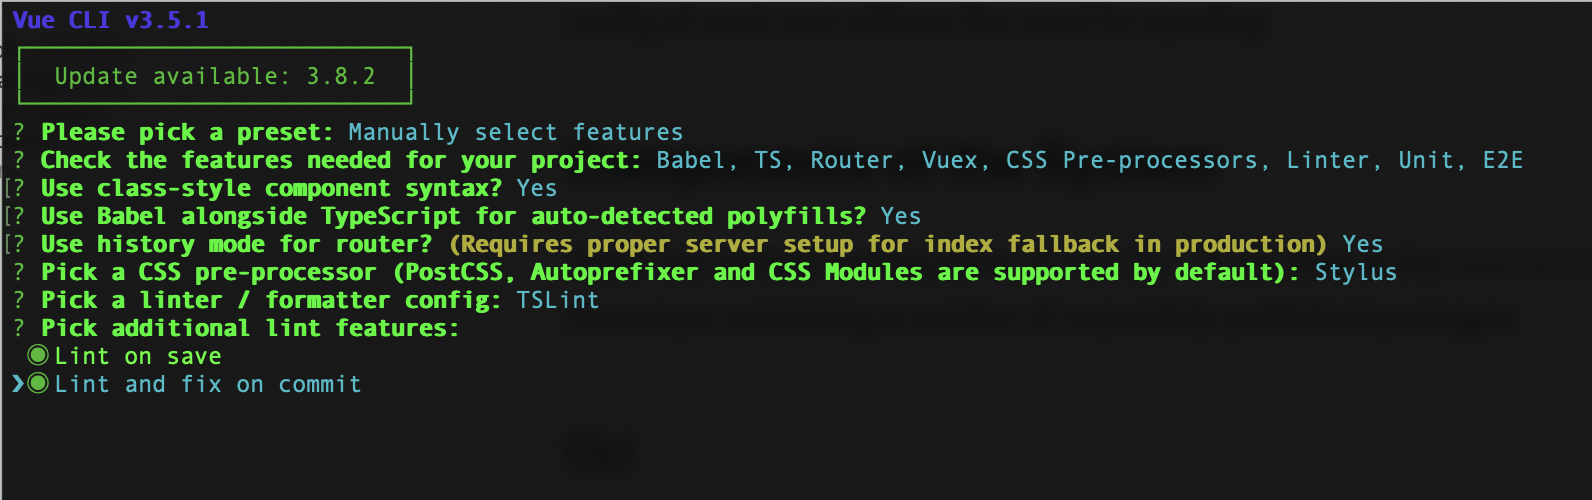
This option will add this code to package.json file
  "gitHooks": {
    "pre-commit": "lint-staged"
  },
This is adding option which will be ran before every GIT commit. Before every commit linting operation will be ran.
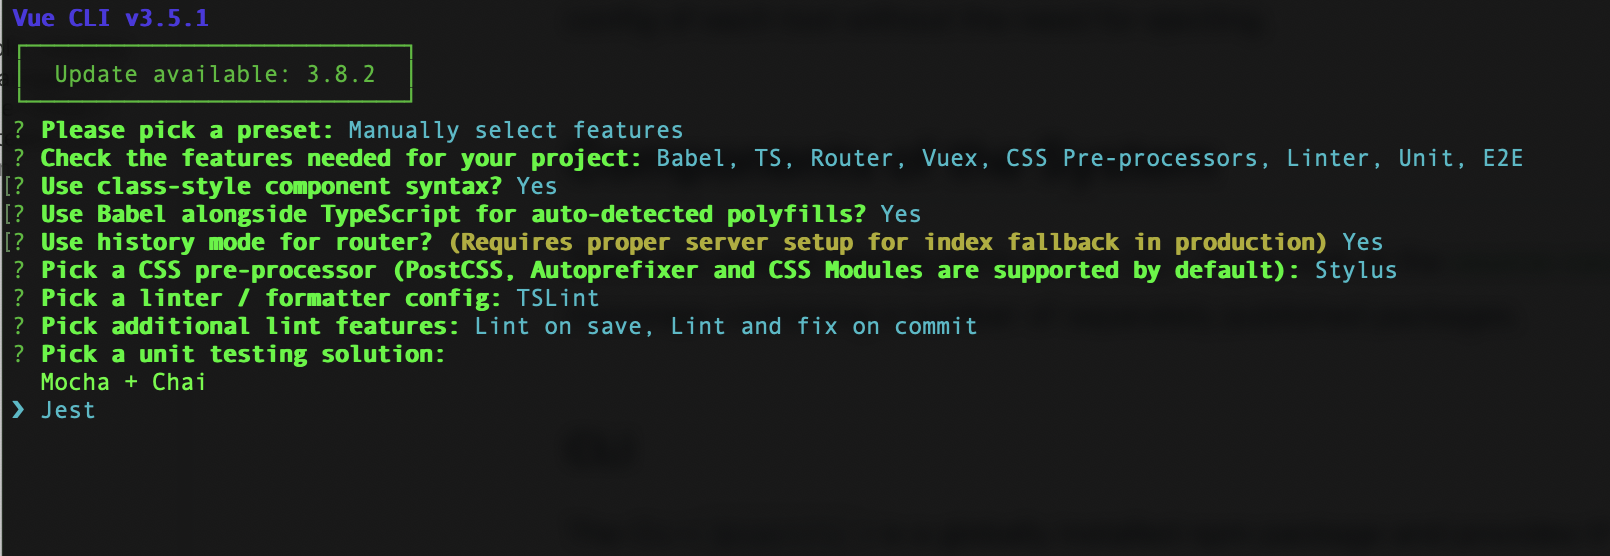
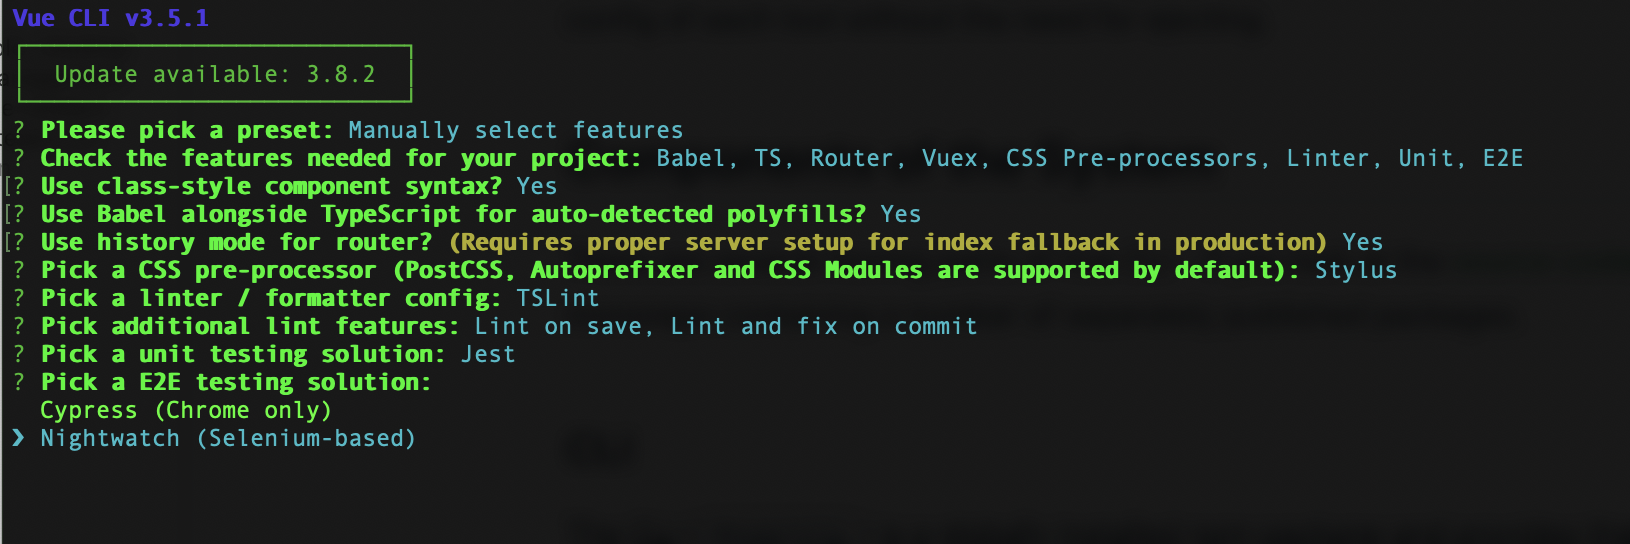
Choose testing engine for both Unit testing and E2E testing:
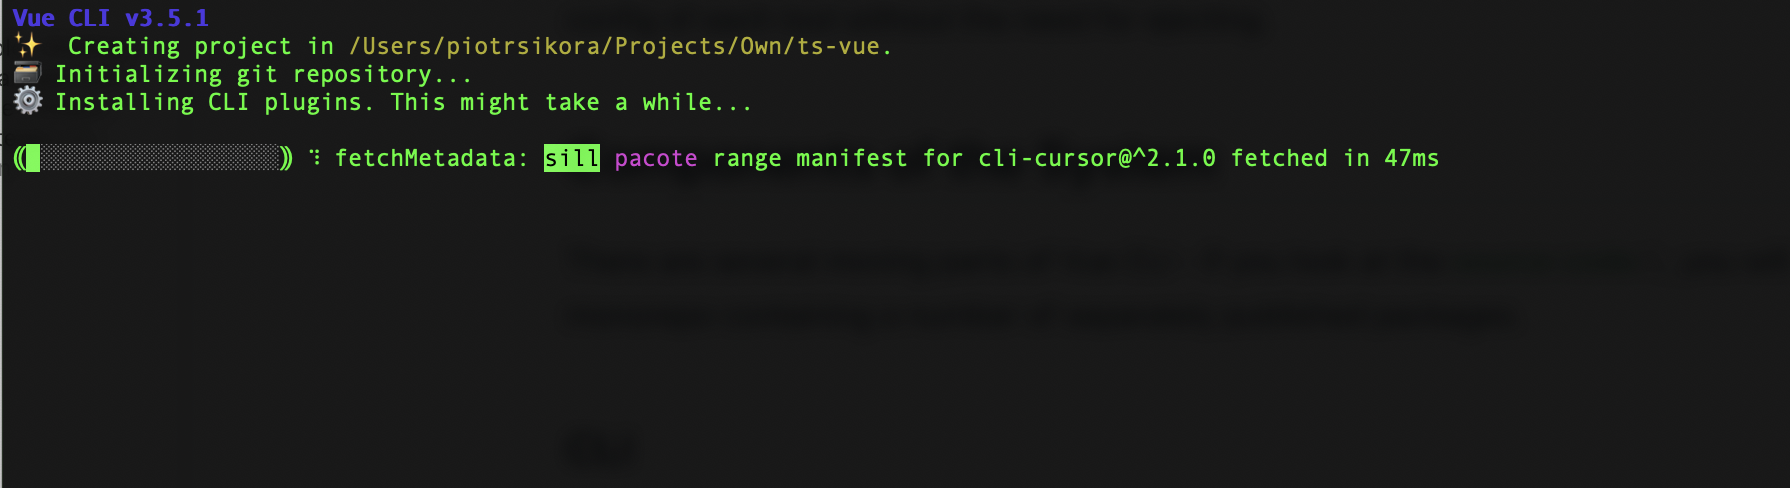
Then you will see installation process:
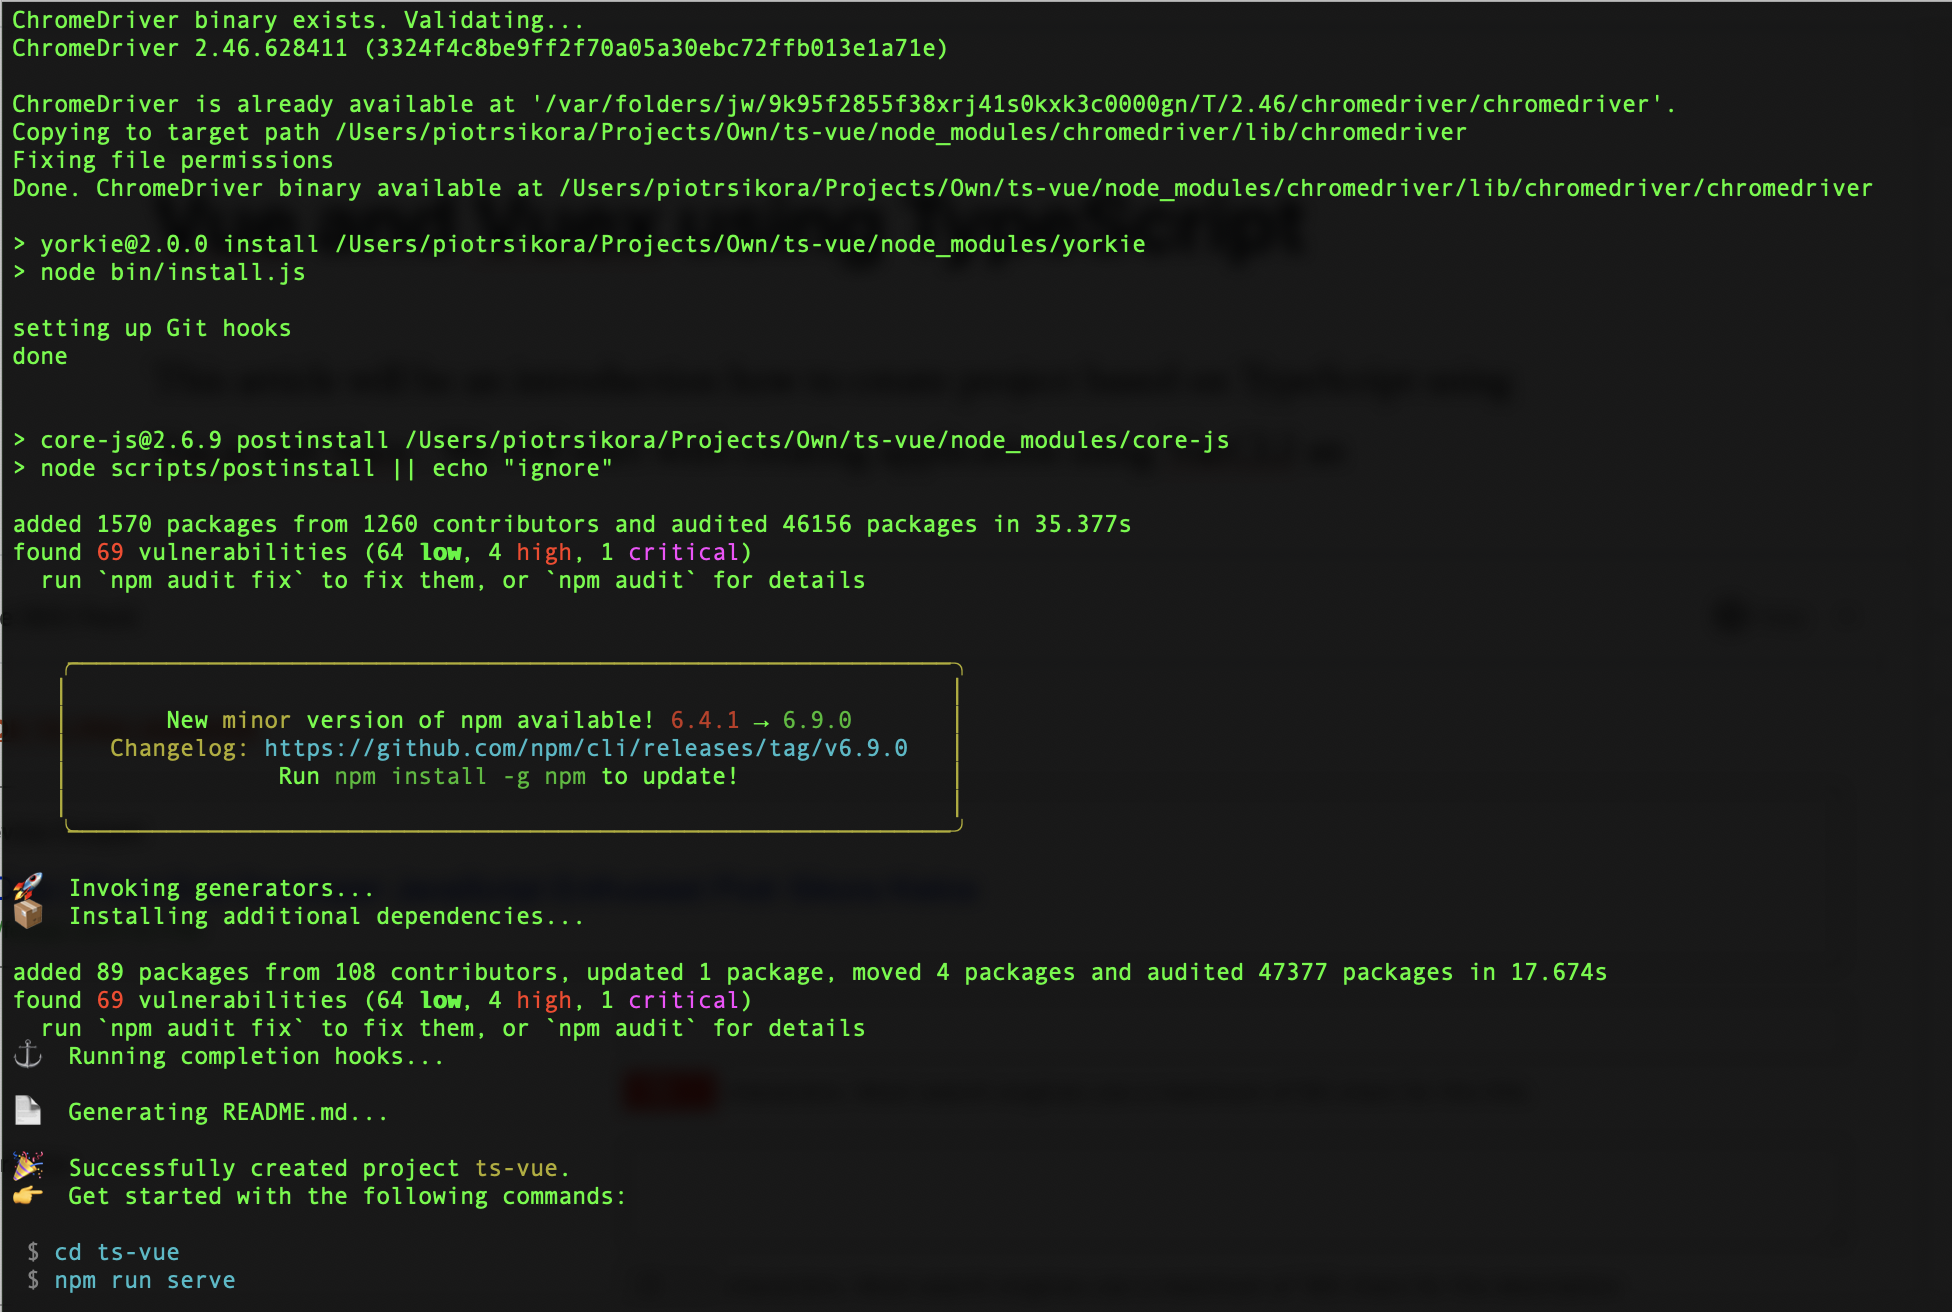
VueCLI after creating application
Vue project structure
Vue Project right after initialization with VueCLI in VisualStudio Code. As it is visible project is divided into:
-
src (source of your application)
-
assets
-
components (here you will store components of your application)
-
views (here you will store pages of your application)
-
-
tests (tests of your application)
-
public (public folder to which your application will be compiled)
When you will analyse structure of src folder and look into Atomic Design pattern you can say that in components will be stored all atoms / molecules / organisms and in views pages. It looks like simplified approach of Atomic Design.
Adding PUG to Vue.js project to simplify templating
I like code minimalism thats why I like PUG (previously known as JADE). PUG is HTML preprocessor. To enable it in .VUE files we will need to follow instructions added on official Vue.js website: https://vue-loader.vuejs.org/guide/pre-processors.html#pug
npm install -D pug pug-plain-loader
You can use PUG in your templates from now on like this:
Running project
Now lest run the project!
npm run serve
And voila: Now we need to run browser with URL http://localhost:8080
(of course if we haven't ran any other app on this port. If yes - CLI will get next free port ie. 8081, 8082 and so on)


Comments